Catalina - Capri - 25s International Assocaition Logo(2006)  
Assn Members Area · Join
Association Forum
Association Forum
Home | Profile | Register | Active Topics | Forum Users | Search | FAQ
Username:
Password:
Save Password
Forgot your Password?

 All Forums
 Catalina/Capri 25/250 Sailor's Forums
 Catalina 250 Specific Forum
 hull repairs
 New Topic  Topic Locked
 Printer Friendly
Author Previous Topic Topic Next Topic  

kjk
1st Mate

Member Avatar

USA
91 Posts

Initially Posted - 03/27/2017 :  17:36:25  Show Profile
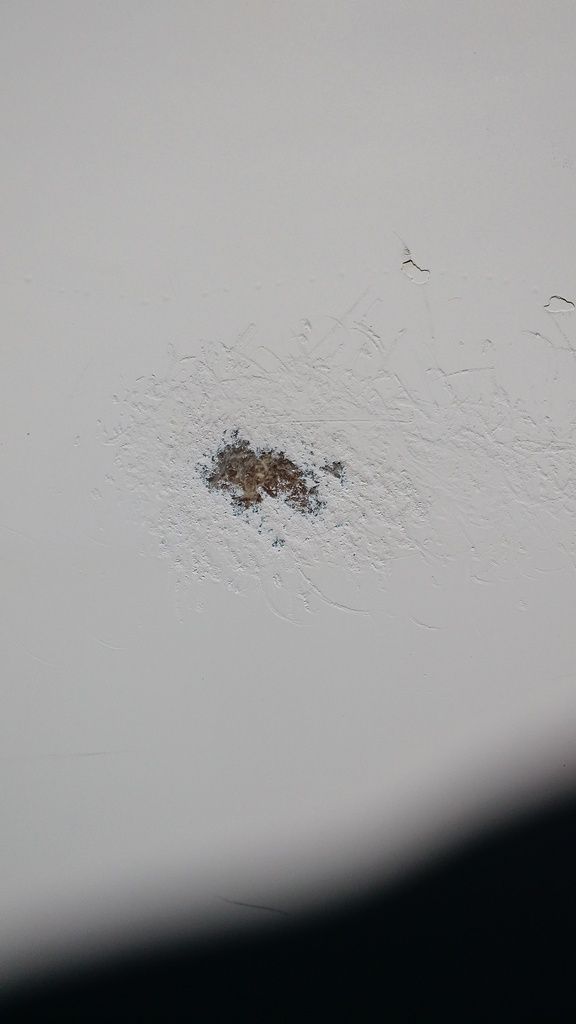
I'm still rehabbing this 1999 winger I bought last year. This Spring, I hope to work on the hull. It mostly needs (hopefully) polishing and restoring. Any damage done was to the port side. The rub rail aluminum was damaged and needs to be replaced. Luckily, there was no big damage, except this part which apparently was damaged and restored, but not finished. I'd appreciate any thoughts on what you would consider doing to make this look better.


Kevin J. Kiely
Rockport, MA
1999WK
Hull # 407

sdpinaz
Navigator

Members Avatar

USA
193 Posts

Response Posted - 04/06/2017 :  21:45:27  Show Profile
Hi Kevin,
check out this whole series. I have linked to a video that I think is #5 or #6 in the series. my guess is that you need just some preliminary sanding and filler and fairing and gelcoat. but look at his whole series on him talking about having a hole in your boat. he is entertaining and also teaches you some things.
https://www.youtube.com/watch?v=Flj8vapM5mU

you can get a gelcoat paste from Catalina Direct that will be a close match for the color.
https://www.catalinadirect.com/index.cfm/product/2128/gel-coat-white-paste-95-04.cfm

or you can buy some white gelcoat and a tinting kit and with some practice get a perfect match. The guy on the youtube video also has a couple of videos on color matching gelcoat.
The gelcoat paste from CD will be your cheapest solution, but due to 20 years of UV fading, might not match perfectly. Mixing your own gelcoat will cost more, since you would have to buy an entire color matching kit. but then with some practice you could make it impossible to see your repair. anyway, just looking at your photo, it doesn't appear that there is anything other than a cosmetic repair needed.

Scott
'88 WK/SR #5727
Go to Top of Page

sdpinaz
Navigator

Members Avatar

USA
193 Posts

Response Posted - 04/06/2017 :  21:50:49  Show Profile
also, I forgot to say...
when you sand, don't be afraid to sand a larger diameter area. make sure to sand away any sharp edges. you don't want to leave any of the scratches, and the two flaky areas in the upper right of your photo need to be sanded away as well. Don't worry about sanding away all the color, minimize the amount of raw fiberglass you sand on, but after you get a smooth surface, you will end up building it back up to fair the area anyway and then when you apply new gelcoat you can feather it out and blend it evenly with the old. After you sand, if the diameter is more than say five or six inches, I would go with a gelcoat and tint kit, not the CD paste. good luck!

Scott
'88 WK/SR #5727
Go to Top of Page

kjk
1st Mate

Members Avatar

USA
91 Posts

Response Posted - 04/08/2017 :  14:27:25  Show Profile
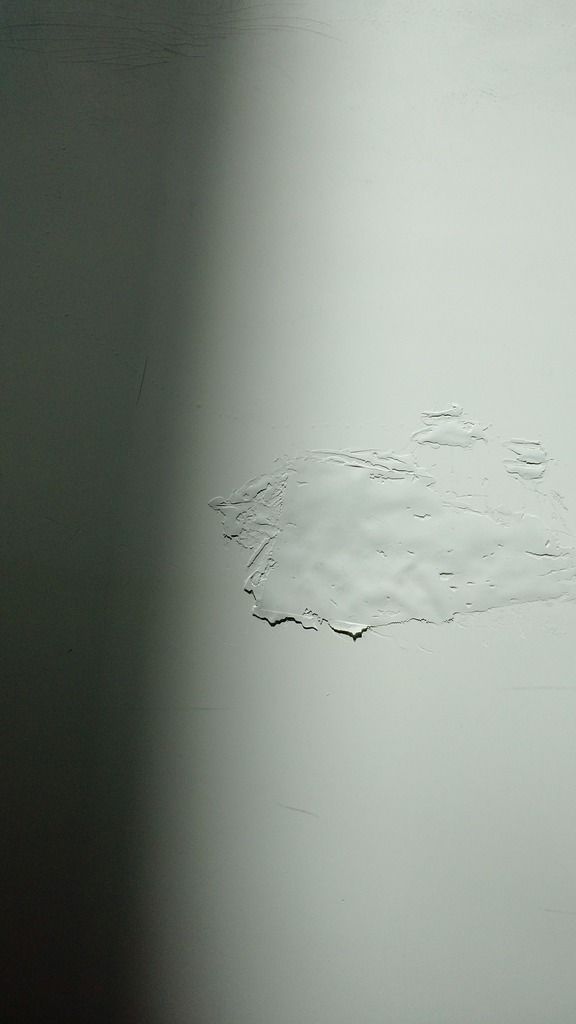
Thanks Scott for the advice and links. I owe you a beer. What I eventually did, after talking to some lobstermen, was to get a gelcoat repair kit at WM. I think I did not do a very good job of application, and will next time use a plastic applicator. The kit had popsicle sticks for applications and they worked, well, like popsicle sticks. However, I lucked out with the color and after sanding it looks a lot better, although there is some color bleeding through. I have some white epoxy paint around somewhere that I may carefully use for touch up or I could sand it down some more and add a little more resin. Here is what it looked like after application.


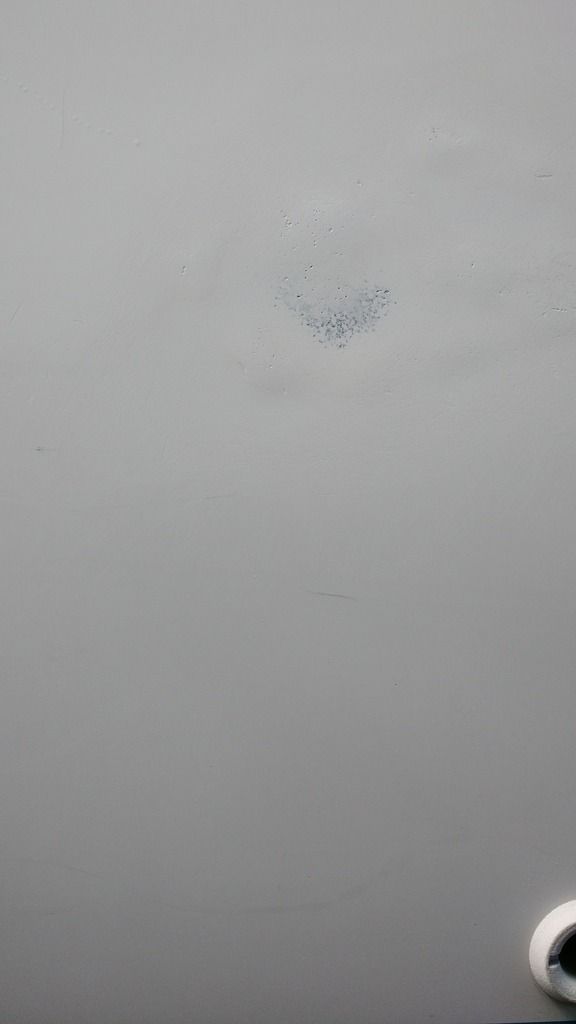
Here after sanding.

Kevin J. Kiely
Rockport, MA
1999WK
Hull # 407
Go to Top of Page

islander
Master Marine Consultant

Members Avatar

USA
3992 Posts

Response Posted - 04/08/2017 :  15:57:28  Show Profile
Very nice on the color match, I would apply another coat of gel feathering it out farther then sand again. Rarely do you get it perfect with one coat.

Scott-"IMPULSE"87'C25/SR/WK/Din.#5688
Sailing out of Glen Cove,L.I Sound


Go to Top of Page

sdpinaz
Navigator

Members Avatar

USA
193 Posts

Response Posted - 04/08/2017 :  17:39:04  Show Profile
nice work Kevin,
I wouldn't use the epoxy paint- I would just use some more of the gelcoat repair kit- it looks great. and definitely get a plastic squeegee
http://www.homedepot.com/p/HDX-Plastic-Spreader-3-Piece-30123/205997302
push really hard to get in into those pock-holes. covering the color-bleed-through is easy, but filling those tiny holes above it is more important. do it in multiple coats, sanding in between. do you still have some of the repair kit left?

Scott
'88 WK/SR #5727
Go to Top of Page

sdpinaz
Navigator

Members Avatar

USA
193 Posts

Response Posted - 04/08/2017 :  17:41:41  Show Profile
http://www.homedepot.com/p/1-in-Chiseled-Foam-Brush-8500-1/100635279 - if you can afford to buy two or three of these....
after you fill all the holes and build up some thickness where the bleedthrough is, san it slightly and apply the final coat with a foam brush. paint it on slowly and then final sand and buff it. nice work!

Scott
'88 WK/SR #5727
Go to Top of Page

Stinkpotter
Master Marine Consultant

Members Avatar

Djibouti
9013 Posts

Response Posted - 04/09/2017 :  08:35:40  Show Profile
I agree on not painting... Paint is much harder to get to a smooth, feathered edge with the surrounding gelcoat. I believe you'll rue the day... Just sand and re-gel a time or two more. I'm not surprised the color was easy--a C-250 is likely to be a purer white than most C-25s out there. When you're done, the only way anybody is going to notice it is when you point it out: "Boat looks great!"..."Ya, except for this spot over here."

(I patched some gouges on our C-25 with gelcoat patch in a tube--I don't think "Voyager" Bruce has found them yet. )

Dave Bristle
Association "Port Captain" for Mystic/Stonington CT
PO of 1985 C-25 SR/FK #5032 Passage, USCG "sixpack" (expired),
Now on Eastern 27 $+!nkp*+ Sarge

Edited by - Stinkpotter on 04/09/2017 08:45:01
Go to Top of Page

Voyager
Master Marine Consultant

Members Avatar

USA
5231 Posts

Response Posted - 04/09/2017 :  13:48:53  Show Profile
Dave, I have been over the entire hull more times that I can count doing the PoliGlow. I've also added a few patches myself. "Doccidents" I call em.

Bruce Ross
Passage ~ SR-FK ~ C25 #5032

Port Captain — Milford, CT
Go to Top of Page

kjk
1st Mate

Members Avatar

USA
91 Posts

Response Posted - 05/01/2017 :  18:23:13  Show Profile
Running out of time.
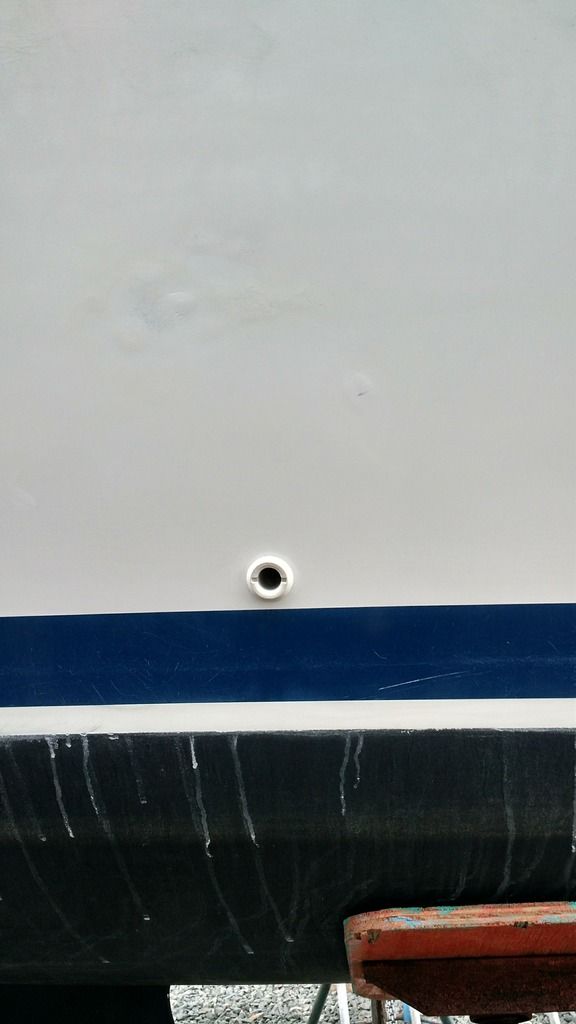
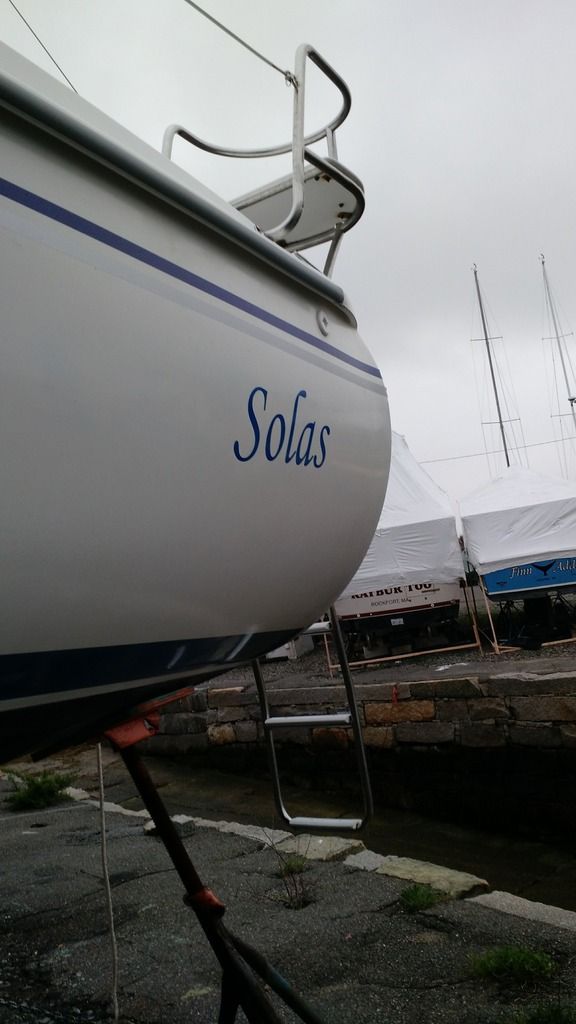
Launching in a week (hopefully)Here is the progress on the blemish.
Can't let perfect be the enemy of good,
but I hope to finish in the fall.

Here is the rest of the hull. New rubrail and rubrail bracket (hard to install!) and new stripping (harder!) and rechristened.

Kevin J. Kiely
Rockport, MA
1999WK
Hull # 407
Go to Top of Page
  Previous Topic Topic Next Topic  
 New Topic  Topic Locked
 Printer Friendly
Jump To:
Association Forum © since 1999 Catalina Capri 25s International Association Go To Top Of Page
Powered By: Snitz Forums 2000 Version 3.4.06
Notice: The advice given on this site is based upon individual or quoted experience, yours may differ.
The Officers, Staff and members of this site only provide information based upon the concept that anyone utilizing this information does so at their own risk and holds harmless all contributors to this site.