Notice:
The advice given on this site is based upon individual or quoted experience, yours may differ.
The Officers, Staff and members of this site only provide information based upon the concept that anyone utilizing this information does so at their own risk and holds harmless all contributors to this site.
Well, we finally ordered a bimini from iBoats (they offer free shipping right now)It should arrive next week, and I'm excited to get it installed. My open question is whether we need to take special steps to seal or bed the attaching brackets or strap eyes. We'll mount it outside the coamings, where the glass seems thick enough that we would not drill through to the other side, but if there is core in there, we don't want to start a problem. Any advice on this part of the project? I have Keith D.'s post from his installation saved already.
If you do not drill all the way through I would drill the hole and then fill it with a penetrating epoxy like Git Rot. Let it sit for a while and soak/coat the core. Then use a sealant like 3M 101 to bed the fixture.
If you do drill all the way through I do the same thing except first tape off the bottom of the hole so it will hold the Git Rot.
My bimini was installed on the deck to hull joint. I see the other biminis are all installed the same way. This is 100% fiberglass, why use penetrating epoxy (the double drill method I`m guessing when drilling in cored fiberglass). If not cored why bother?
Right, if there is no core there is no need to use epoxy. Some people, like the PO of our boat, mounted the bimini on the coaming and it is cored in that area.
Well I think that it since fiberglass will absorb water in the long term expanding under the gelcoat (osmosis) it could be a good idea. If you use the correct hole size (5/16 I believe) and a little sealant like Randy suggested then you should be real good.
Bimini is assembled, installation comes next. Keith D. recommended size 6 grommets to allow the backstay fittings to pass through the fabric, but I'm having a very hard time finding grommets that large. Anyone know where to find them?
<blockquote id="quote"><font size="1" face="Verdana, Arial, Helvetica" id="quote">quote:<hr height="1" noshade id="quote"><i>Originally posted by frejoh</i> <br />Bimini is assembled, installation comes next. Keith D. recommended size 6 grommets to allow the backstay fittings to pass through the fabric, but I'm having a very hard time finding grommets that large. Anyone know where to find them? <hr height="1" noshade id="quote"></font id="quote"></blockquote id="quote">
<font face="Comic Sans MS">Please take picures and some notes on the steps you are taking. The more detailed the better your experience will help other members. This would make a great "Tech Tip" in the Mainsheet and/or in the Assoc. web site Tech Tips. Thanks Good luck with it. </font id="Comic Sans MS">
The only place I found #6 grommets was a my local chandler, however the tool to set them is very expensive so I had them sew a strengthening patch and then install the grommets. A much cheaper process than buying the tool.
When you drill into your fiberglass for the mounting screws, remember that the hole you drilled is smaller then the screw. The screw will cut its threads, and the glass will handle that just fine, BUT the gel coat won’t. That thin layer is very brittle and can chip when the screw starts to cut through it. The trick is to relieve the gel coat by using a counter sink or a larger sized drill bit. Be careful not to drill too deep. You will be able to see the difference between the gel and the glass, only relieve it enough so the screw will miss the gel coat. You will need to bed the screw with something, I use silicone, but there are other compounds you can use. Remember not to bed it with an adhesive of any type, which will prohibit future removal
agree with Glen, I go a step further and cut a longitudinal slot in the thread of the screw effectivly turning it into a real self tapping thread, avoids cracking the gelcoat and underlying fiberglass.
I wish all the original screws were self tappers, it would avoid a lot of crazing around screws.
Don't think I need to countersink hole, since screw goes through the bimini fitting. However, length of remaining screw is 3/4". Will that be so long as to penetrate hull/deck joint outside of coamings, and should I get shorter screws? Same concern for eyes used with tie down straps, obviously. In any event, will use silicone, Git Rot or other sealer to bed all screws and seal out water. And Keith D., where do I get size 6 grommets, and the means to install? You made that step sound so simple!
Fred, look in the 250 section for a thread named "bimini/price" and you will see my install. I did not use any pad eyes to hold the bimini straps. Mine is a six foot bimini and covers from the rear of the catbird seat forward under the boom. It is secured to the catbird seats and the forward stanchion cockpit life line hook up.
Found some grommets at sailrite.com. They have a very wide selection of sailmaking materials and sailing items. They offer traditional brass grommets up to size 6 (7/8" I.D.) and a "jiffy grommet" made of aluminum. $3.95 a grommet. I ordered 3 'cause I usually bugger up the first one of anything.
Don, nice bimini install. I was wondering what is the length? It looks like it higher than boom so you are able to stand up without hitting your head. Also I see entire cockpit is shaded but sunny in catbird seats. Could you have extended length to cover that area? I was looking at moving the main sheet attachment point forward about a foot and place bimini under boom but dont think one would be able to stand up. I also thought this would provide the entire cockpit with shade. But your install shows otherwise. Of course sun position is a factor. Steve A
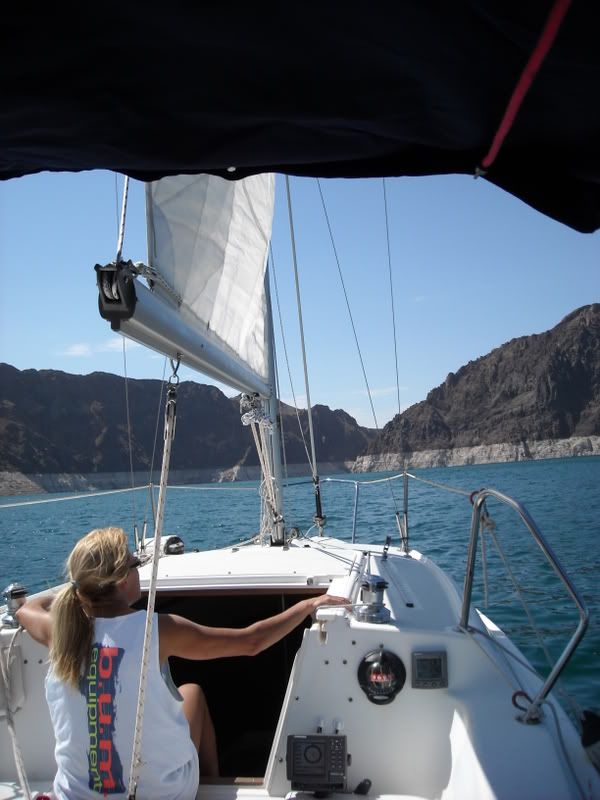
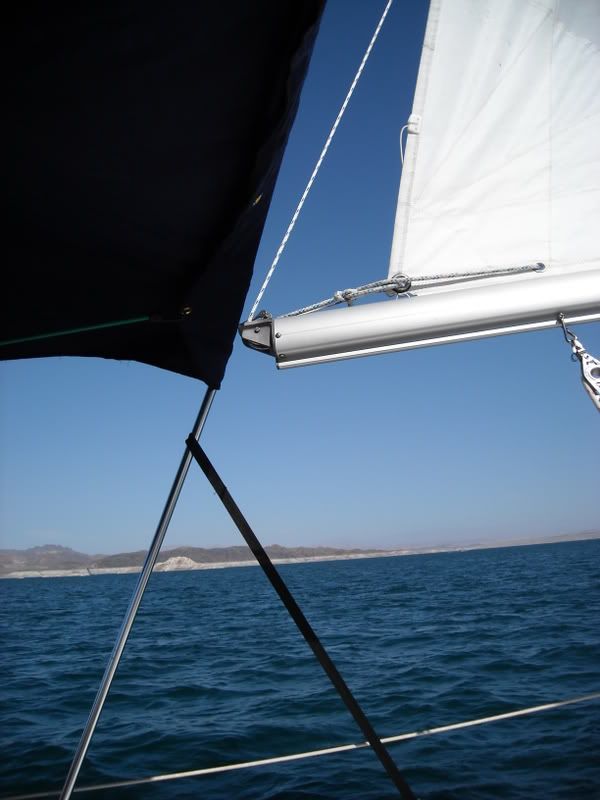
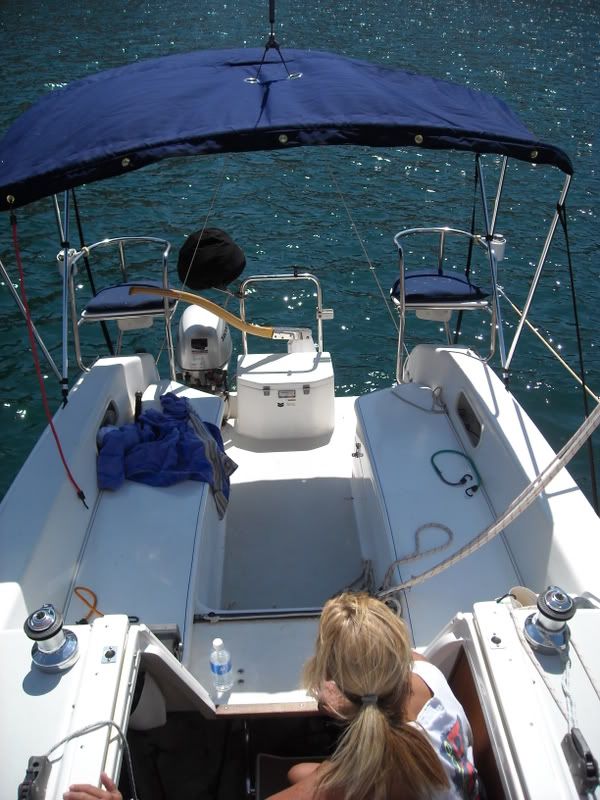
If you look at the first picture you see a red bungee cord. It attaches from the grommets in put in on the front to the ones on the back. When I anchor the bimini is fully open. When I sail I pull it together about 2-3" using the bungees and adjusting the front straps. The bungees keep the top tight so it does not flap in the wind. It covers the cat bird seats. the sun was just low behind us in that picture. I had the top made so I can sail with it and walk under it. I am 6'2" and I have no problem under it. You can see in the second picture that by moving it the 3" the boom clears the stainless steel rail. I works great. I sold my boat Sunday and the new owner loves it.
We had our first sail with the new bimini today, and it was great. Perfect sailing weather in Georgia today, unusual for July, but the bimini kept us very cool and comfortable nonetheless. There is less fatigue when you can get out of the hot sun.
Installation took about four hours. Followed Keith's instructions as best we could. First challenge was finding height on backstays to mark with tape, since you can't place the top with the backstay in place. Did a good SWAG/estimate, I think, by holding bimini up just forward of the stays. Second challenge: using plumb bob to drop from tape to cockpit sole with a boat in the water and rolling from marina wakes, etc. Found steel tape measure better than plumbob on line, again a decent SWAG. We then disconnected backstay after tying halyard to stern rail off to side and out of way. Easier to disconnect at the junction where the stay splits. Installing bimini itself takes mostly courage when drilling into your boat for the first time. (Drew balsa from only one hole.)Used West marine silicone in each hole before screwing down fittings and eye straps. Next, removed entire bimini to install gommets, after using tape measure to come up from cockpit sole tape marks to fabric. Double/tiple checked by measuring around the sole, figuring the stays to be symmetrical. After removeing bimini. installed the "Jiffy Grommets" from Sailrite.com. These worked as advertised, and lo and behold, when we put it all back together the stays went through the grommets and the bimini fit our boat! We then had to move the mainsheet attachment forward on the boom about 9", just drilling a new hole in the bottom of the boom. Boom clears the bimini by about 4", but we do have to move the boom aside to open or close the bimini, since the front bow moves upward as it folds. I'll try to take and post some pictures, although I don't think I discovered much new in our project which pictures would illustrate. I am proud our project worked out, and having comfotable shade is a pure pleasure. I look forward to many days in the comfort of that shade.
I'm in the process of buying a 1996 C250 WB and will be in the market for a bimini. Can you tell me the dimensions of the one you bought from iboat, and how much headroom you attained with it? I'm also thinking of putting tracks on the outside of the coaming, and then having zippers sewed in the bimini top instead of grommets so I can move it forward and aft as needed. Does this sound feasible?
Brian, we got the Westland brand, I think 88-95" wide, 6' long. I can send you the model number later, but I think it's 4687. I estimate the head room at about 55" from the deck; if I can remember I'll measure it next time we go out. Your idea sounds feasible, remembering the mainsheet limits any forward movement of the bimini, while the tracks will require drilling several more holes, I think.
Thanks Fred...we picked up the boat yesterday and trailered it down from Chattanooga to Bham. It trailered really well, but when we got home, I noticed the mast support pole, that attaches in the rudder slots, had bent. I suspect it was more side to side motion during the trip, rather than weight, that did it. So, I'm now in the market for one of those as well....
Just an update to let you know we just ordered the same bimini you have from Go2Marine. If you can post the pictures you took of your install, I'd greatly appreciate it. Positioning the support brackets and, of course, marking the holes for the backstay grommets will have me trembling...lol
We got our new bimini from Go2Marine. It was a Westland # 4687, and had the dimensions of 46H, 72L, and 85-90W. It turned out to be a perfect fit for our '96 C250 WB. It seems that no matter who you order a Westland Bimini from, they are all "drop shipped" from Westland, so go with the best price, but we found them all (Iboats, Go2Marine, etc.) to be within a couple of dollars of each other....We actually got the bimini in less than 6 days, so if nothing else, they are prompt in putting in their orders....(nice folks to deal with on the phone too...)
We got the Pacific Blue Sunbrella, with the aluminum frame and nylon fittings. The SS was about $150 more, but we're going to try the aluminum and see how it goes (previous boats we've owned had aluminum and as long as you keep them washed down and clean, they seem to hold up to salt water environment OK). Our cost was $350 plus shipping =$374. A great price as far as we're concerned. The width we ordered was for the install to be "outside" of the coamings. The "Admiral" wanted as much coverage port to starboard as possible, LOL.
The only modification we made, other than having grommets for the back stay, was drilling a new hole on the boom, 6" forward, for the main sheet. We've heard others going 12", but we felt the main sheet wouldn't clear the life line stanchion, or at least be compromised in some way, and with the dimensions we had, we felt we had more than adequate coverage from the bimini.
We don't have "cat bird seats", but with our configuration, we get coverage from the "fuel locker" to just before the cabin entrance. This also enables us to have a fairly easy entrance into the cabin and more than easy entrance forward to the mast.
As far as the grommets going thru the bimini, we follewed Keith's directions and found them to be "right on"...the use of a plumb bob to determine the right "pass thru" point is, in my opinion, the only, and best way to configure the holes for the pass thru of the back stay wires...Wherever he got that from, whether he designed it himself, or picked it up elsewhere, it is the best way to configure the location for the grommet holes....
We searched the Sailrite web sight, but could not find any of the "jiffy grommets" that Fred mentioned. We wound up (luckily), finding a commercial canvas shop in Birminghamn that had the dye for a #6 grommet. It seems it is a "hit and miss" proposition when finding a shop with a # 6 dye. But since the dye set costs around $175 for a #6, I would recommend looking hard and long for a canvas shop that already has one....(our guy charged me $10 for installing two #6 brass grommets)...
I just finished putting the bimini up on the boat, connected the back stay, and low and behold, the damn thing fit to a tee!!!!!! Thanks Keith...!
We're close to our "lauching" point in the "Gulf" next week...Have a few more minor things to set up, but we're looking forward to launching the Athena in the ICW, just west of the Navy Air Base in P'cola, Fl, better known as the Big Lagoon.....
Notice: The advice given on this site is based upon individual or quoted experience, yours may differ. The Officers, Staff and members of this site only provide information based upon the concept that anyone utilizing this information does so at their own risk and holds harmless all contributors to this site.